Whether you are tired of shoveling snow off of your roof or exhausted from seeing ice dams over your property, finding a long-term solution to the problem might have become your number one priority.
With their purpose-built functions and utmost durability, heating cables for roofs and gutters can be the perfect match for your needs.
Once installed, these thermal cables melt surrounding snow and ice dams with safe and controlled heat. As a result, you can remove excessive snow and tough ice dams from your home without manual labor. Whether you are facing regular snowfall or an abrupt snowstorm, these high-performance cables can do their job quite efficiently.
But if you don’t have firsthand experience of using these cables, that’s where the questions start. What exactly are heating cables? How do they perform their function? Most importantly, how do you install them on your property?
Fortunately, a basic introduction to heating cables is enough to answer all of these questions. Through these details, you can not only learn how heating cables work in the first place but also understand how effective they can be for your residential and commercial property.
Roof Ice Melter
Thanks to their structure, heating cables are also known as a roof ice melter system. Since the thermal power of these cables effectively melts frozen snow and ice formations, this name fits the solution quite perfectly.
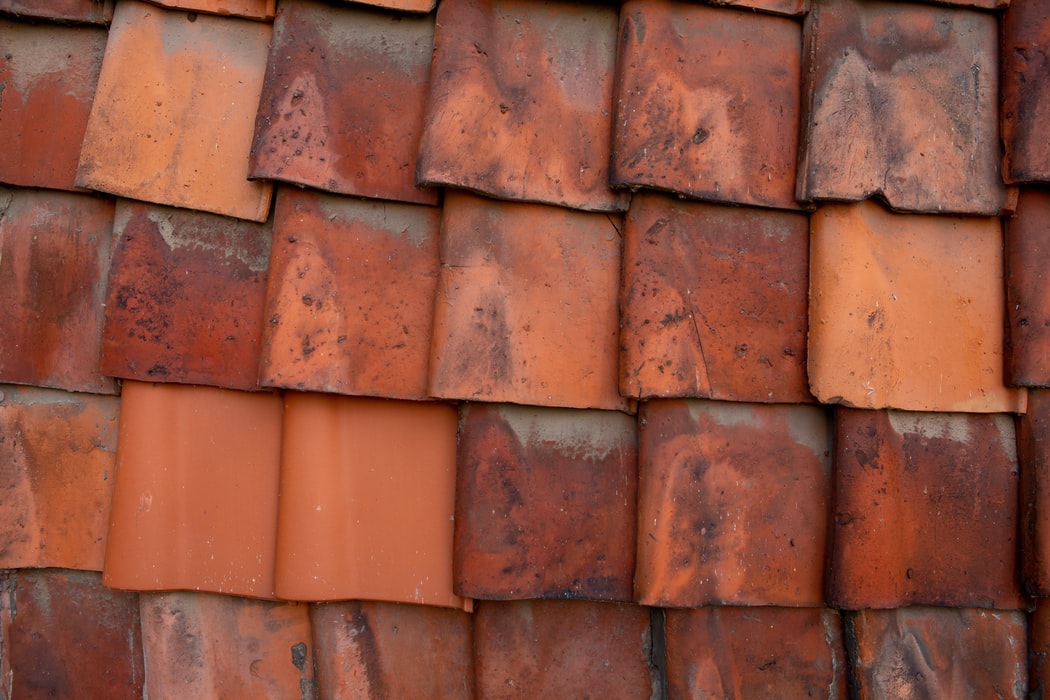
These roof ice melter systems are available across a wide range of price points to fit all types of roofs. They mostly comprise heating cables for roofs and gutters, with the cable’s overall material being able to withstand extremely cold and scaldingly warm temperatures. As a result, they can install it on top of the roof without excessive risks. It is essential not to have a high risk of incurring damage from exposure to extreme weather.
After these cables are installed on your roof and connected to a power source in your building, they start their thermal functions to heat nearby snow and ice. This makes sure that large piles of snow and heavy walls of ice stay away from your property.
In turn, the unwanted snow and ice melt into flowing water that quickly travels down your gutter and downspout. This helps you steer clear of problems such as roof sinkage, roof leakage, gutter blockage, as well as general water damage.
Heating Cables for Melting Roof Ice

When installing ice melt systems, you can notice two types of variations in these heating cables. These include constant wattage cables and self-regulating cables.
Constant wattage cables provide consistent heat at the same output. While these cables are cheaper than self-regulating cables, they can often drive up your energy bills due to their continuous operation at a singular level of output.
Self-regulating cables use temperature control to adjust their heat according to their surroundings. While this consistently melts snow and ice at freezing temperatures, their adjustable power doesn’t massively increase your energy bills.
In either case, these heating cables for roofs and gutters can align to your property’s structure without any issues. Once they are appropriately attached to your roof and gutter system, you can connect them to a power source to turn on their function.
Choosing between these varieties is entirely dependent upon your budget and preference. For optimal results, you should get a personalized consultation from an expert. This lets you choose the ideal system that fulfills all your needs and budgetary requirements. As a result, you can enjoy a reliable ice melt system that doesn’t break the bank.
Ice Melting Systems for Roofs
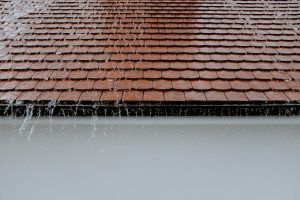
After your roof accumulates a large amount of snow, sunlight and changing temperature naturally induce the thawing process for it. While the melted snow water easily travels down your roofing material to your gutter, some cold spots on your roof can often stop this melted snow in its tracks.
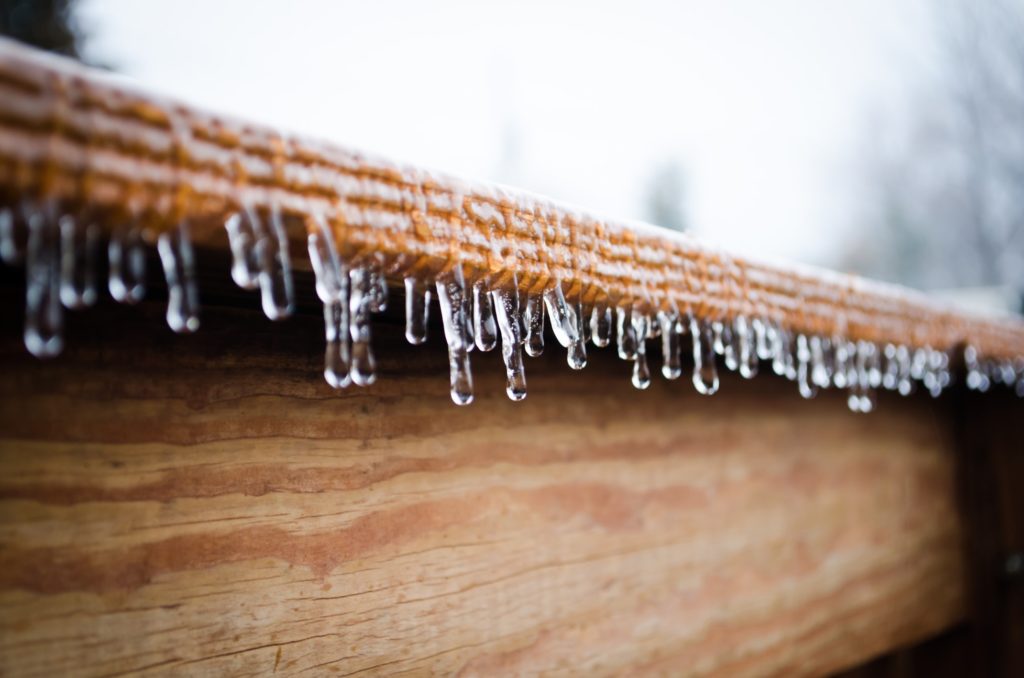
When this happens, the melted snow water freezes again. Over a short amount of time, this cycle can turn the frozen water into small ice walls or ice dams. Since these ice dams are made of solid ice, they are tough to break and problematic to keep on top of your roof.
Along with adding excess weight at the edge of your roof, these ice dams also stay true to their name and block melted snow water from passing through. This causes problems such as roof leakage and sagging from standing water.
With heating cables for roofs and gutters, you no longer have to worry about these walls of ice. After these systems are installed on your property, their emanating heat can prevent any ice dams from forming at freezing temperatures. From cold spots to water blockage, this system addresses all associated problems of ice dams in an effortless way.
How to Install a Heating Cable System

After learning about a heating cable system’s critical functions, you might choose to obtain this solution for your property. Obtaining professional help for the installation process is a highly popular way to make this system a part of your home. But understanding the procedure helps you know exactly how this solution is working to protect your property.
Figure out the problem areas in your roof that lead to stubborn piles of snow and ice dams.
This includes cold spots along the length and edges of your roof. For optimal results, you can use a serpentine or zig-zag configuration. This installation structure runs the cable along a wide portion of your roof’s edges before sliding it down your gutter system.
Make sure your roofing and gutter system material can withstand the temperatures of the heating cable.
This ensures you are not damaging your roof with overtime use. You can find this information by contacting the roofing material’s manufacturer or distributor.
Take measurements of the area where you need to install the cables.
Along with taking care of roof valleys, this should also include the entry to a power source that powers up these cables and their control box.
Install the cable over your roof’s cold spots and edges.
Once again, the serpentine or zig-zag configuration is ideal for ice dam removal and prevention in most cases. You can then slide down the cable along your gutter system.
Use equipment such as cable clips, zip ties, T-splitters, and moisture sealants throughout your installation.
These supplies are typically available right through the cable’s manufacturer itself.
The actual installation process can differ on a case-to-case basis, which may also include special equipment and references that are specific to your chosen heating cable system. That is why you should only take these points as a general guideline and refer to the detailed manual that comes with your heating cable for further information.
Contact Us Today for Heating Cables Installation
With HotEdge’s self-regulating heating cables, you can get rid of sudden snow and rigid ice dams with ease. Our heating cable system comes with a wide range of options that suit your specific needs and take care of your budgetary limitations.
Our team also offers professional installation, ensuring that you can benefit from these systems without any stress. As a result, your residential or commercial property can steer clear of destructive snow and ice formations without any compromise on your safety.
See how our solutions can help, don’t hesitate to contact us for a free quote today. We will be glad to understand your requirements and find the ideal solutions for you right away.